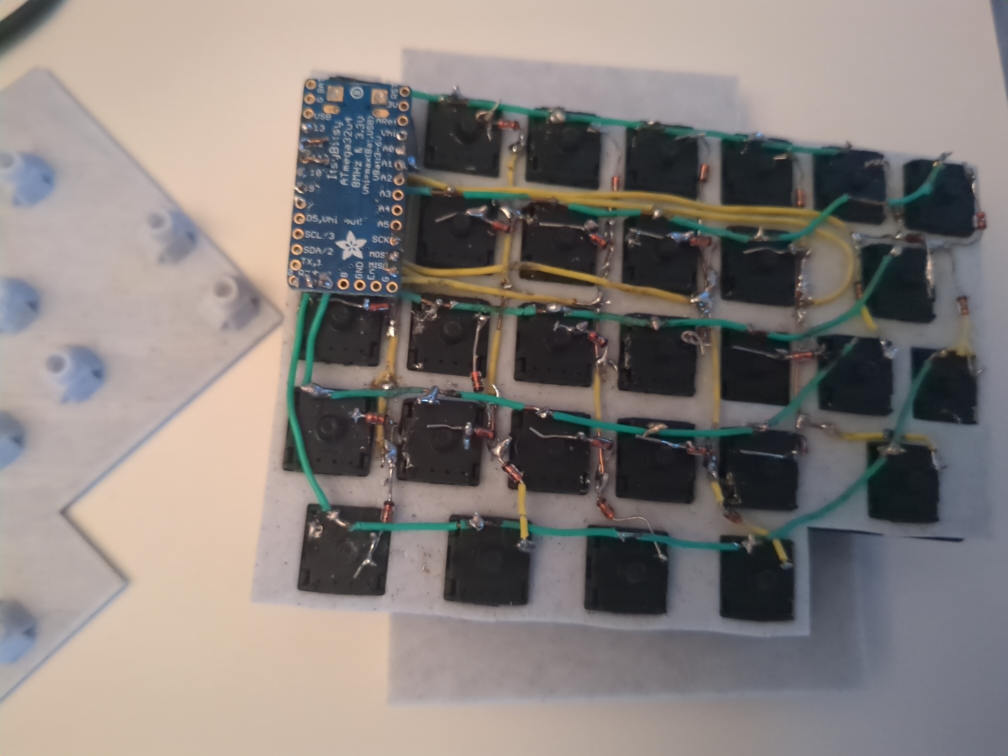
Writing Firmware
The Atmel microcontroller sits on an Adafruit board and runs firmware I wrote in C, using the Avr-libc that I installed from my repo's packages, alongside some self proclaimed deprecated code snippets I found online. You plug the keyboard in and the OS recognises a USB keyboard, all while the little chip loops through a matrix of rows and columns to check which keys are pressed.There were a lot of resources available to guide one towards an easy coding experience. However, since the Arduino IDE had some issues rendering properly on my machine, I decided to dig deeper and limit myself to use the GNU Atmel AVR library (that's what Arduino's library uses itself, at least of Linux). This proved to be a nice exercise in getting to know an unknown code base. The keyboard logic is super simple, the main function is around 70 lines and the USB code is around 600. All around, I prefer this than using the Arduino library, I was able to understand a little bit more about how the C compiler deals with different architectures (e.g. using PROGMEM to keep a static array in flash memory rather than copying it to SRAM on boot).
Layout
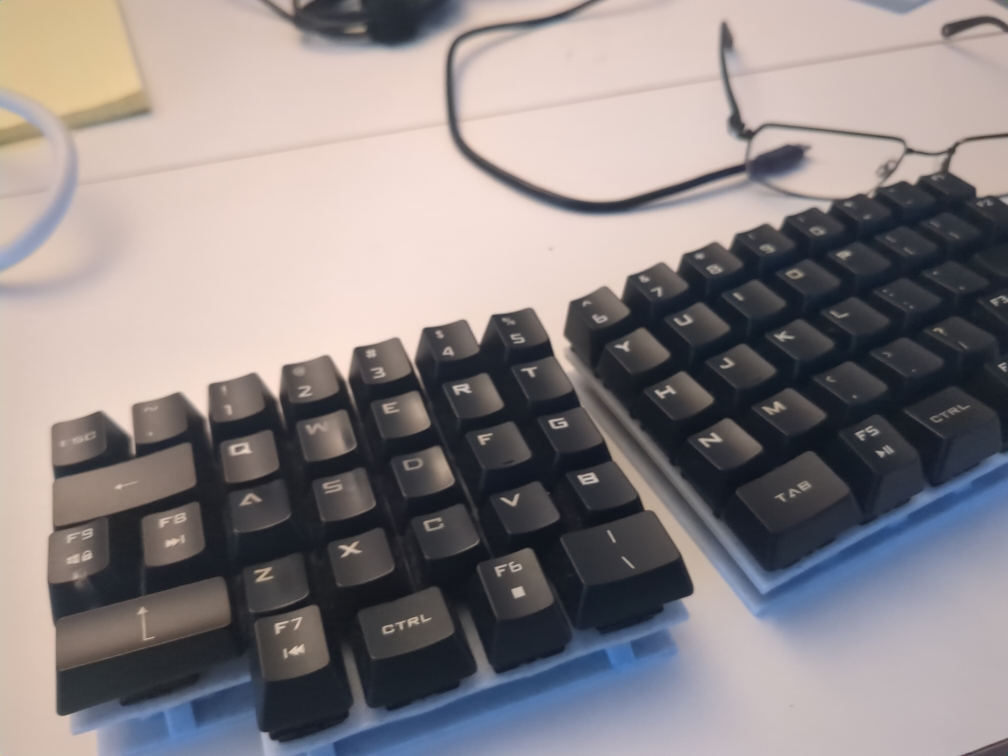
Time has passed, and I would probably opt for a much more traditional layout, with an FN row, Home/End/Insert/Delete cluster and keeping the typical placement of modifier keys.Originally I liked the abscence of the control keys usually found in the outer corners, that could allow the keyboard to have a roughly trapezoid shape that I imagined would look cool. There are a few keys that I had planned to use for vowels and their common accents (for French), but a few years later and I've found a variation of a normal keyboard layout that has the accents on an Alt-Gr layer and it works perfectly fine.
The Other 80% of the Job
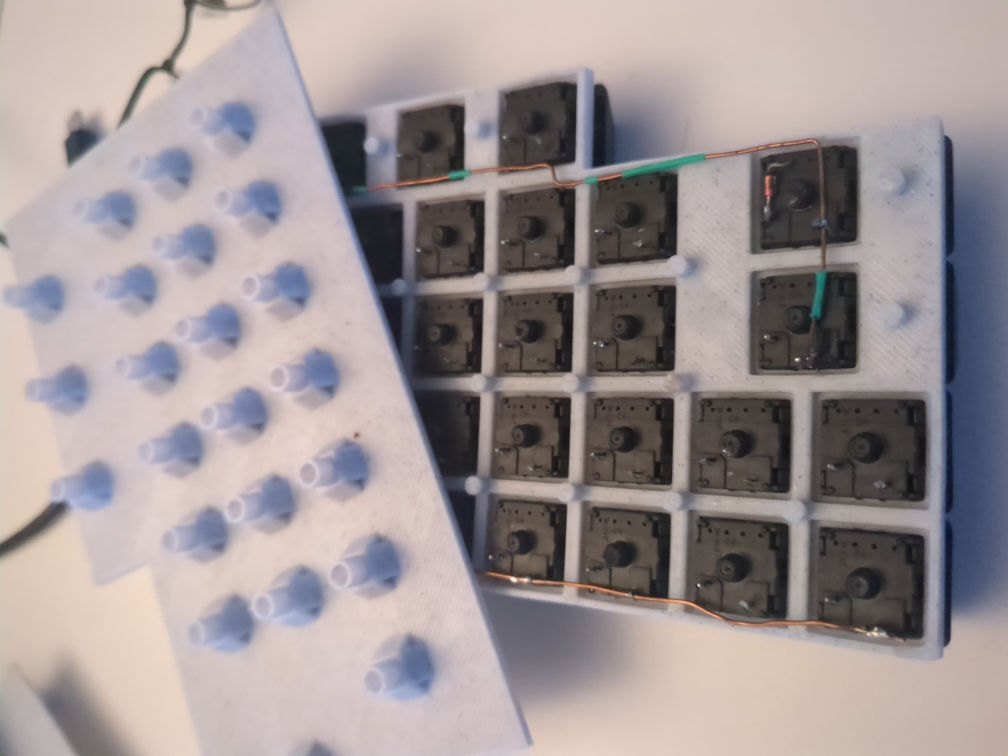
In its current state, basically, half of the keyboard is wired and "soldered" enough that most keys work, and the other half requires more diodes that I haven't gotten my hands on yet.The unfinished half benifits from a much more sturdier design: the bottom plastic plate does not hook into the stems of the switches themselves, but into the plate that holds all the switches. The plate on the older, left side of the keyboard is cracked and the switches don't hold onto the plate very well. The right hand side is also printed with thicker layers of plastic, making it super sturdy.